Knowledge Base
- Introduction – what the Knowledge Base is for
- Creating Entries – articles and editors
- Categories – organizing content
- Search – finding articles
- Helplinks – contextual help in the application
- Comments – moderation and interaction
- Statuses – tagging entries
- Forums – discussions and ideas
- Custom Domain – KB at your address
- SEO – optimization for search engines
- Privacy – access control
Introduction
Knowledge Base is a tool that allows customers to quickly and conveniently get answers to frequently asked questions. It enables easy access to information about products or services, eliminating the need to contact support.
The Knowledge Base serves as both a public help center for customers and internal documentation for the team.
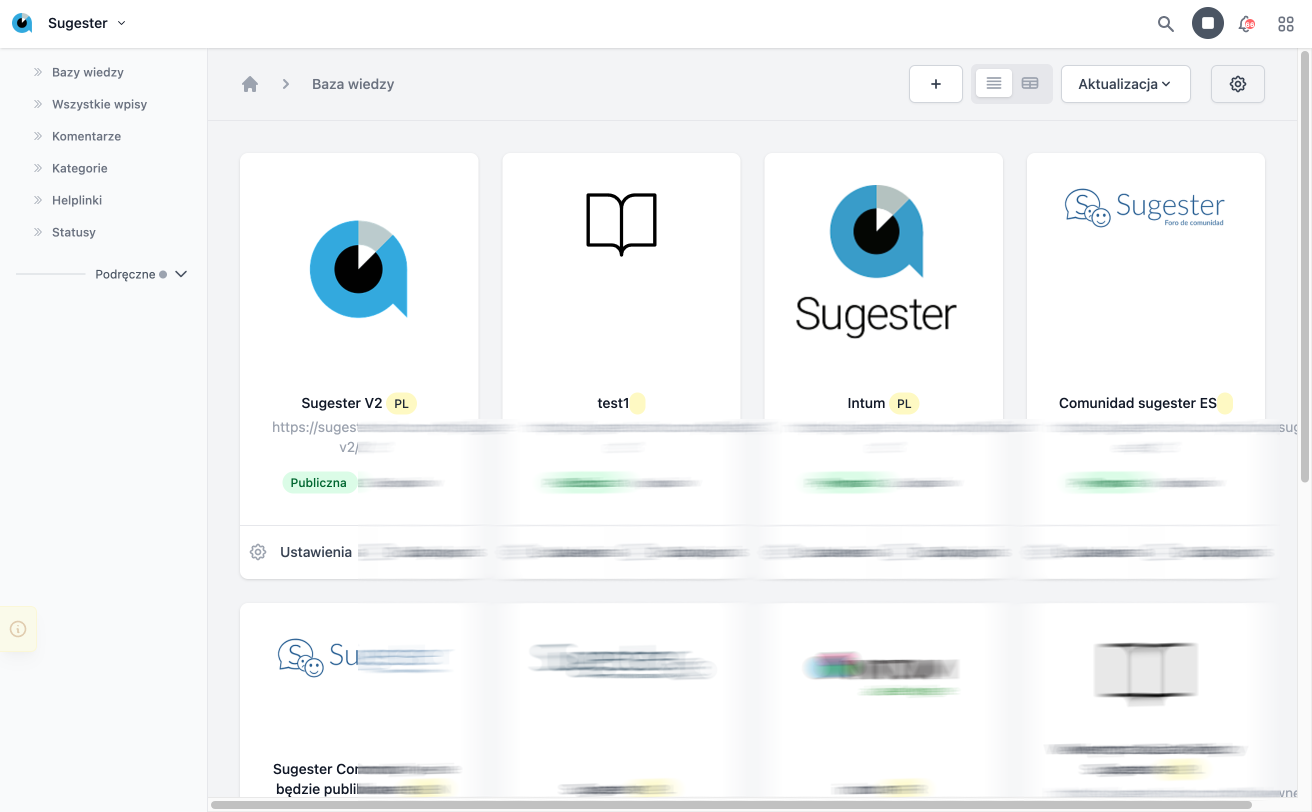
Creating Entries
Each entry in the Knowledge Base contains:
- Title – the article's headline
- Content – the main content (text, images, links)
- Category – assignment to a thematic section
- Tags – keywords that facilitate searching
- Attachments – downloadable files
Content Editors:
- Markdown (default) – a simple text format with live preview. Ideal for technical documentation.
- HTML – a visual editor (WYSIWYG) with formatting. Better for marketing content and graphically rich materials.
Publication Scheduling:
You can set a future publication date – the entry will be automatically published at the specified time. Useful for planning announcements and updates.
Categories
Categories allow for the division of content by thematic areas, making it easier for users to quickly find the information they need.
- Hierarchy – main categories and subcategories (up to 2 levels)
- Priority – determining the order of display
- Image – icon or picture for the category
- Privacy – a private category automatically hides all entries within it
Search
The Knowledge Base has an advanced full-text search engine:
- Search by title, content, and tags
- Filtering by category, author, date
- Sorting: by title, date, popularity, number of views
- Results consider user permissions (private entries)
Helplinks – contextual help in forms
Helplinks are small ? icons visible next to form fields in Sugester. Clicking them displays a tooltip with a brief description of the field, and the arrow at the bottom leads to the full article in the Knowledge Base.
How does it work?
- An icon ? appears next to the form field
- Click it — a tooltip with a description of that field will open
- Click the arrow ››› at the bottom of the tooltip — you will be taken to the full article in the Knowledge Base, directly to the relevant section
Where can you find helplinks?
Helplinks appear in the forms of the most important modules:
- CRM – customer record (name, email, phone, VAT number, status...)
- Tasks – task form
- Forms – form builder
- VoIP – telephony settings
- WebChat – chat configuration
Managing Helplinks (for administrators)
Administrators see helplinks in three states:
- ● Blue – active, with content (visible to all)
- ● Red – active, but without content (to be completed)
- ● Yellow – inactive (hidden from regular users)
How to add content to a helplink?
- Go to Knowledge Base → Helplinks
- Find the helplink by key (e.g.
crm_client_name) - Click Edit and fill in:
- Content – a short description displayed in the tooltip
- Entry – related article in the Knowledge Base
-
Section – anchor to a specific section (e.g.
#client-name) - Active – check to make the helplink visible
Automatic creation: Helplinks are automatically created (as inactive) upon the first display of the page with a field that has an assigned helplink key. The administrator only needs to complete the content and activate it.
Statistics: Each helplink counts openings (tooltip display) and clicks (transition to the article). This allows determining which topics require better explanation.
Comments
Comments allow users to comment on articles, ask questions, and share knowledge.
Comment moderation:
- Automatic approval – configuration by role (everyone, logged in, only admins)
- Manual moderation – approving, rejecting, deleting
- Nested replies – replies to comments
- Attachments – files and images in comments
Statuses
Statuses allow tagging entries with special labels:
- New – new articles
- Important – significant information
- Announcement – announcements and changes
- Custom statuses – define your own with colors and priorities
Statuses help users quickly identify the most current and relevant content.
Forums
The forum creation feature allows users to share their ideas, needs, and opinions.
- Discussions – topics initiated by users
- Ideas – suggestions for product improvements
- Voting – rating posts (helpful/not helpful)
- Moderation – content control by administrators
Forums are an excellent tool supporting product development based on real customer needs.
Custom Domain
The Knowledge Base can operate under your company's own domain:
- help.yourcompany.com – dedicated subdomain
- yourcompany.com/help – as a section of the main site
A custom domain increases professionalism and customer trust.
SEO – optimization for search engines
Each entry can be optimized for search engines:
- SEO Title – a separate title for Google (meta title)
- SEO Description – description displayed in search results (meta description)
- Friendly URL – automatically generated from the title
- Sections (anchors) – H2-H5 headers create a table of contents and direct links
- Sitemap XML – automatically generated site map
Privacy and Access Control
Control who can see your Knowledge Base:
- Public – accessible to everyone without logging in
- Private – only for logged-in users with permissions
- Mixed – some entries public, some private
Privacy can be set at the level of the entire base, category, or individual entry.
Useful Features
Related Entries:
You can link articles to each other, creating a network of related topics. This facilitates navigation and discovering additional information.
Article Rating:
Users can rate articles ("Was this article helpful?"). Feedback helps identify which content needs improvement.
View Counter:
The system counts the views of each article. This allows analyzing which topics are the most popular.
Changelog:
A special widget displaying recent changes and updates. Mark entries as "for changelog" to have them appear in the widget.