The Anti-spam Filters feature allows you to automatically block unwanted emails and direct them to the Spam folder. This keeps your inbox organized, allowing the team to focus on handling real inquiries.
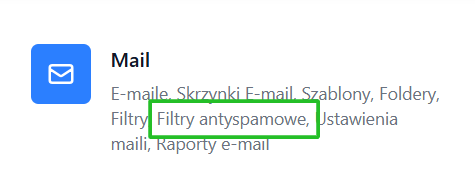
You can find the anti-spam filters in 4 dots -> Emails -> anti-spam filters.
Here, you can manage the message blocking rules.
Marking a message as spam
The simplest way to add a sender to spam is to mark a specific message as spam.
This can be done in two ways:
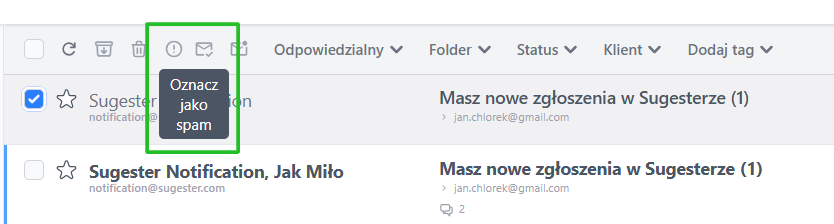
1- from the email list - select the desired message on the list. In the top bar, click the exclamation mark icon “Mark as spam”.
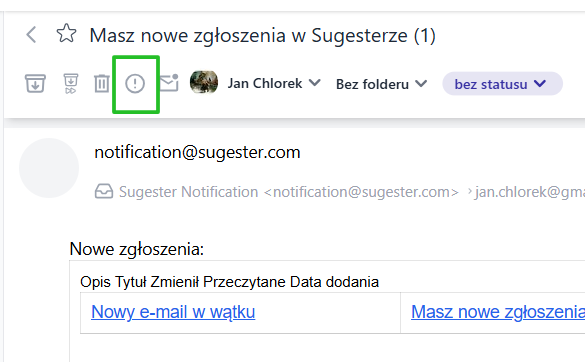
2- from the opened message - open the message. In the top bar, click the exclamation mark icon “Mark as spam”.
After performing this action, the message will go to the Spam folder, and all subsequent emails from the same email address will automatically go to spam.
Creating your own anti-spam filter
You can also manually create a more detailed filtering rule.
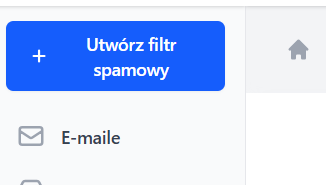
To do this, go to: 4 dots → Emails → Anti-spam filters and click the + Anti-spam filter button.
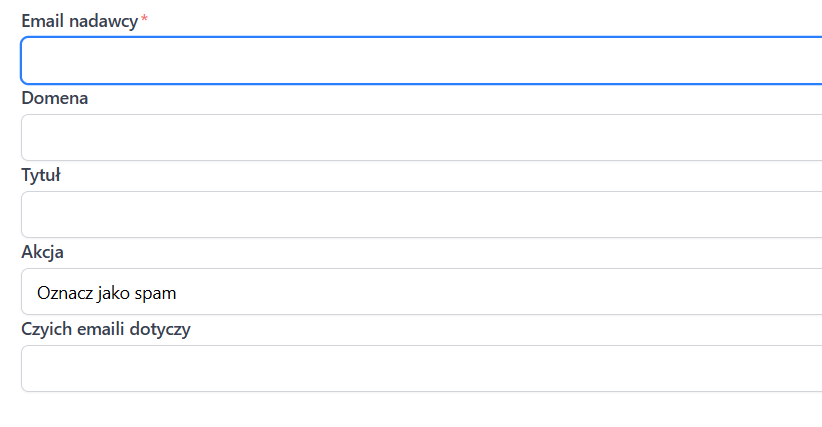
For the filter to work, at least one of the fields must be filled in: Sender’s email, Domain, Title.
You can fill in one or several fields – the more data you provide, the more precise the rule will be.
After saving the filter, any new message that meets the specified criteria will automatically be marked as spam and moved to the Spam folder.
This way, you can reduce the amount of unwanted correspondence, automate inbox organization, and increase the security of email communication.